Here we provide information on how to assemble a model using black, gold, glossy, or any other paper which may not allow you to print an image with a standard printer.
The order of assembly
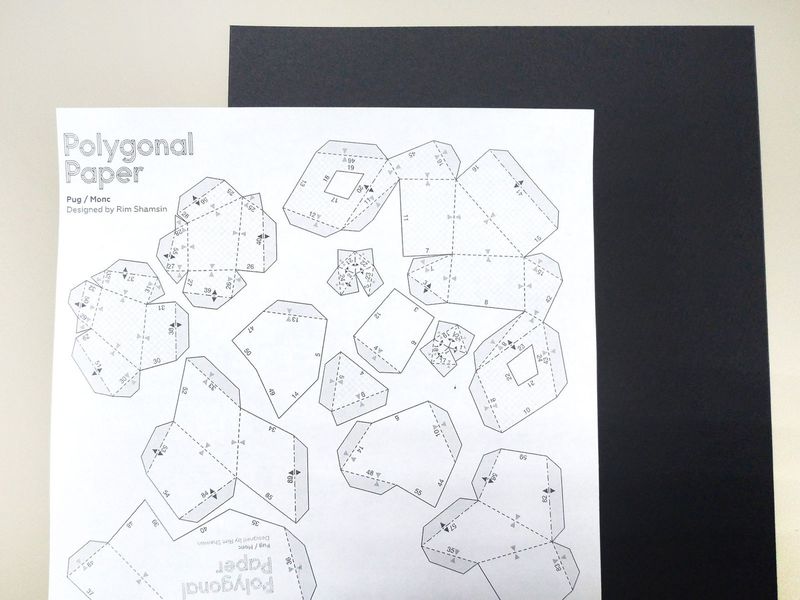
The easiest way is to print the drawing on regular office paper.
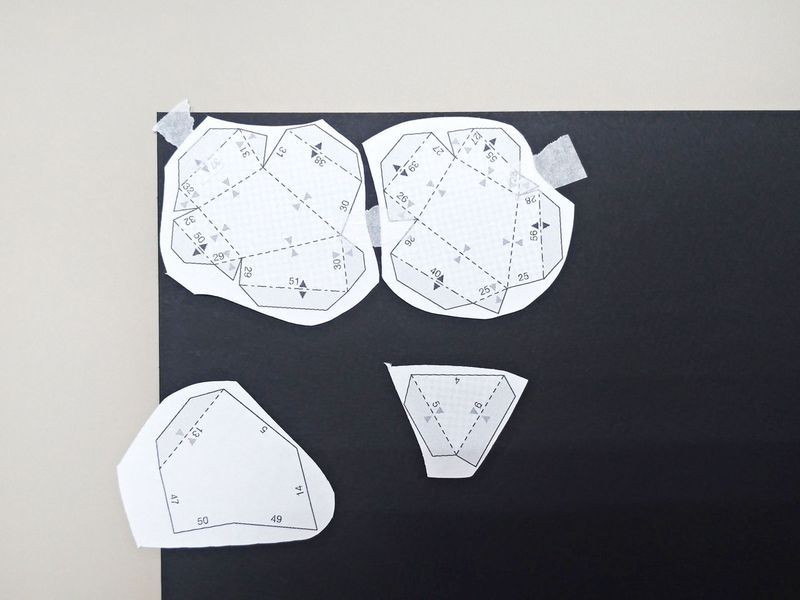
Cut out the parts leaving a little extra space (similar to a frame) and attach the drawing to the black paper with painter’s tape.
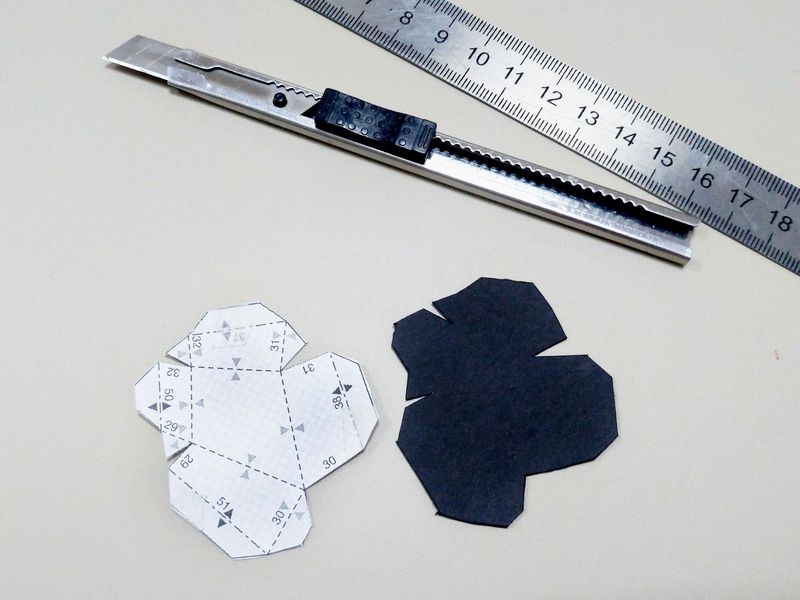
Cut the attached parts along a contour (marked with a solid line). Cut through both sheets.
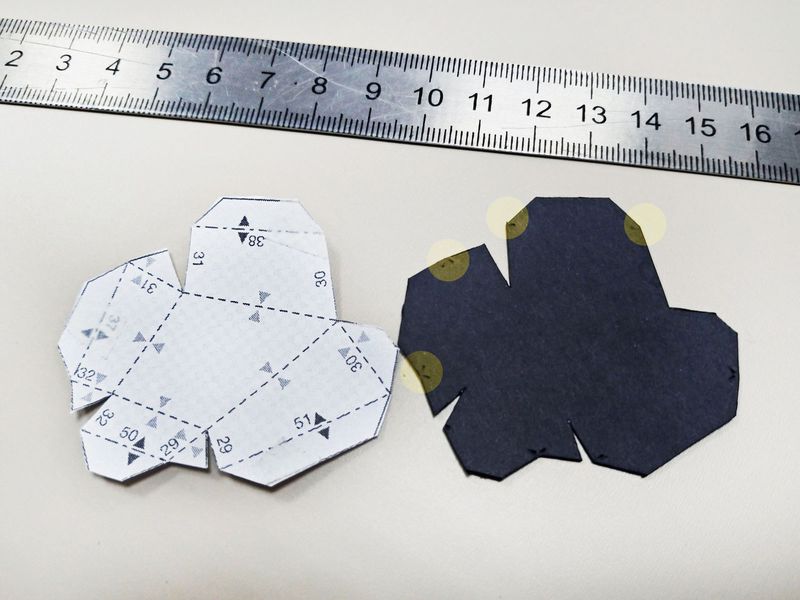
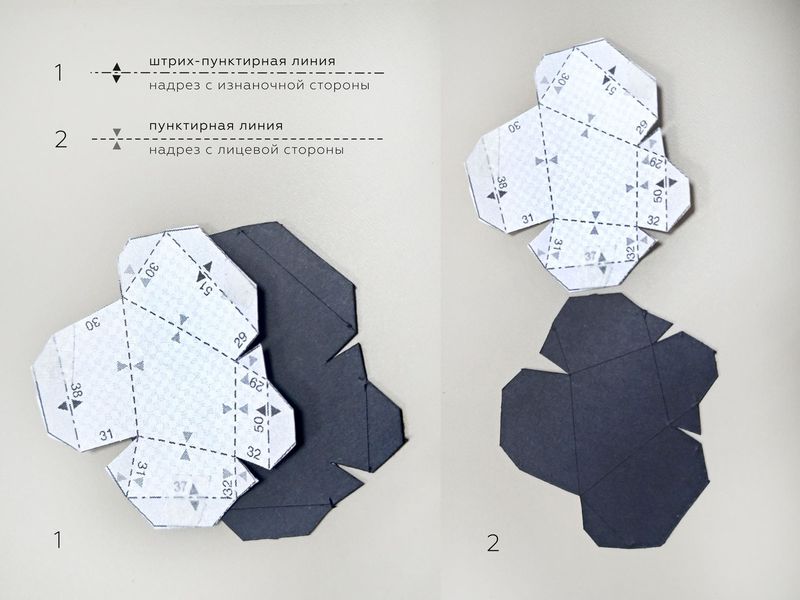
In order to mark fold lines, put together the cut pieces of black and regular paper with the template, and mark the spots for the dotted and dash-dotted lines with the sharp edge of a knife.
To make the folds sharp, you need to pre-process them. Look at the sample on regular paper and determine from which point to which the bend line goes on the detail. Incise the paper along the fold line about half the thickness of the sheet. An incision for dotted and dash-dotted lines is made from different sides of the sheet:
- dash-dotted line and arrows with different directions (divergent) - incise the paper on the back side (where we have printed the drawing);
- dotted line and converging arrows - incise paper on the front side.
We recommend practicing on scrap paper before you try it on the real model to make sure you cut only the surface of the paper and not through it.
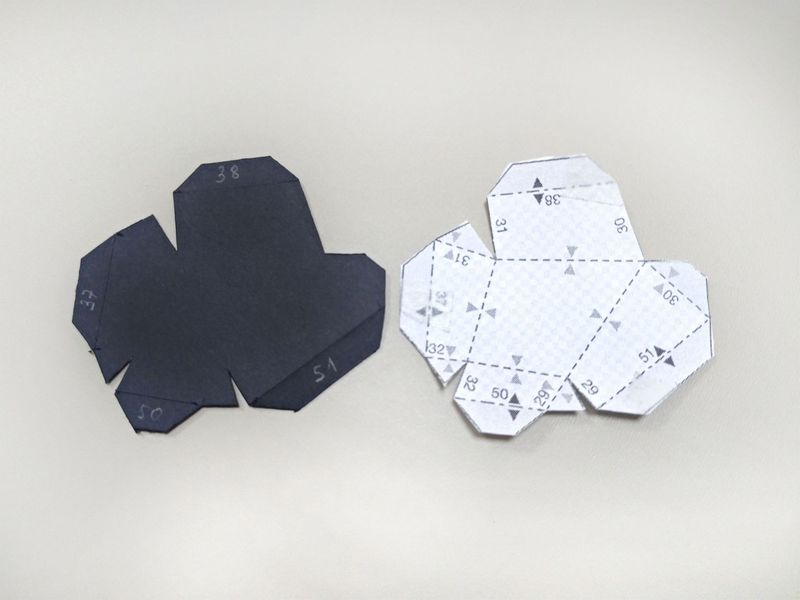
To avoid matching each part of your model with an office paper part during assembly, you may number gluing spots on the back side with a pencil.
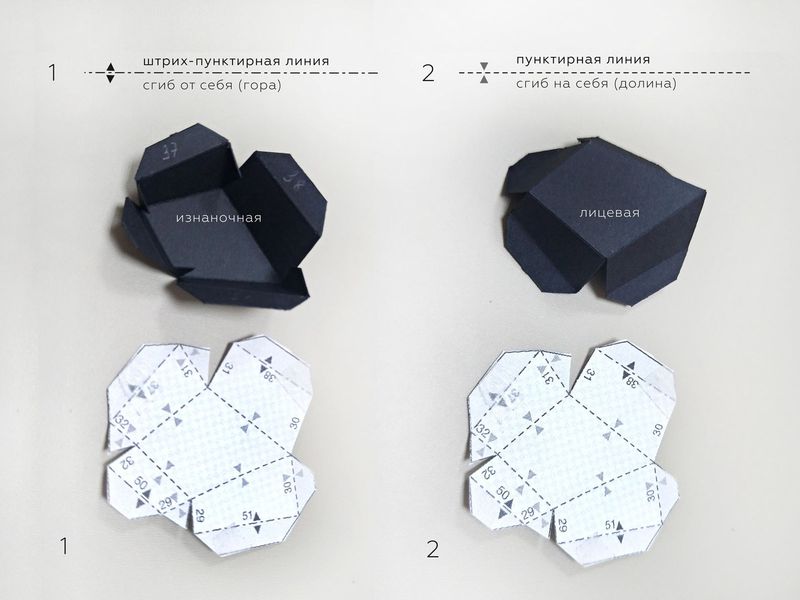
Then bend the parts:
- dash-dotted lines indicate folding the paper «away» (mountain);
- dotted lines indicate folding the paper «toward yourself» (valley).
Our video tutorial demonstrates this process. (1:42 min)
