


Basic recommendations for strengthen models with polyurethane foam:
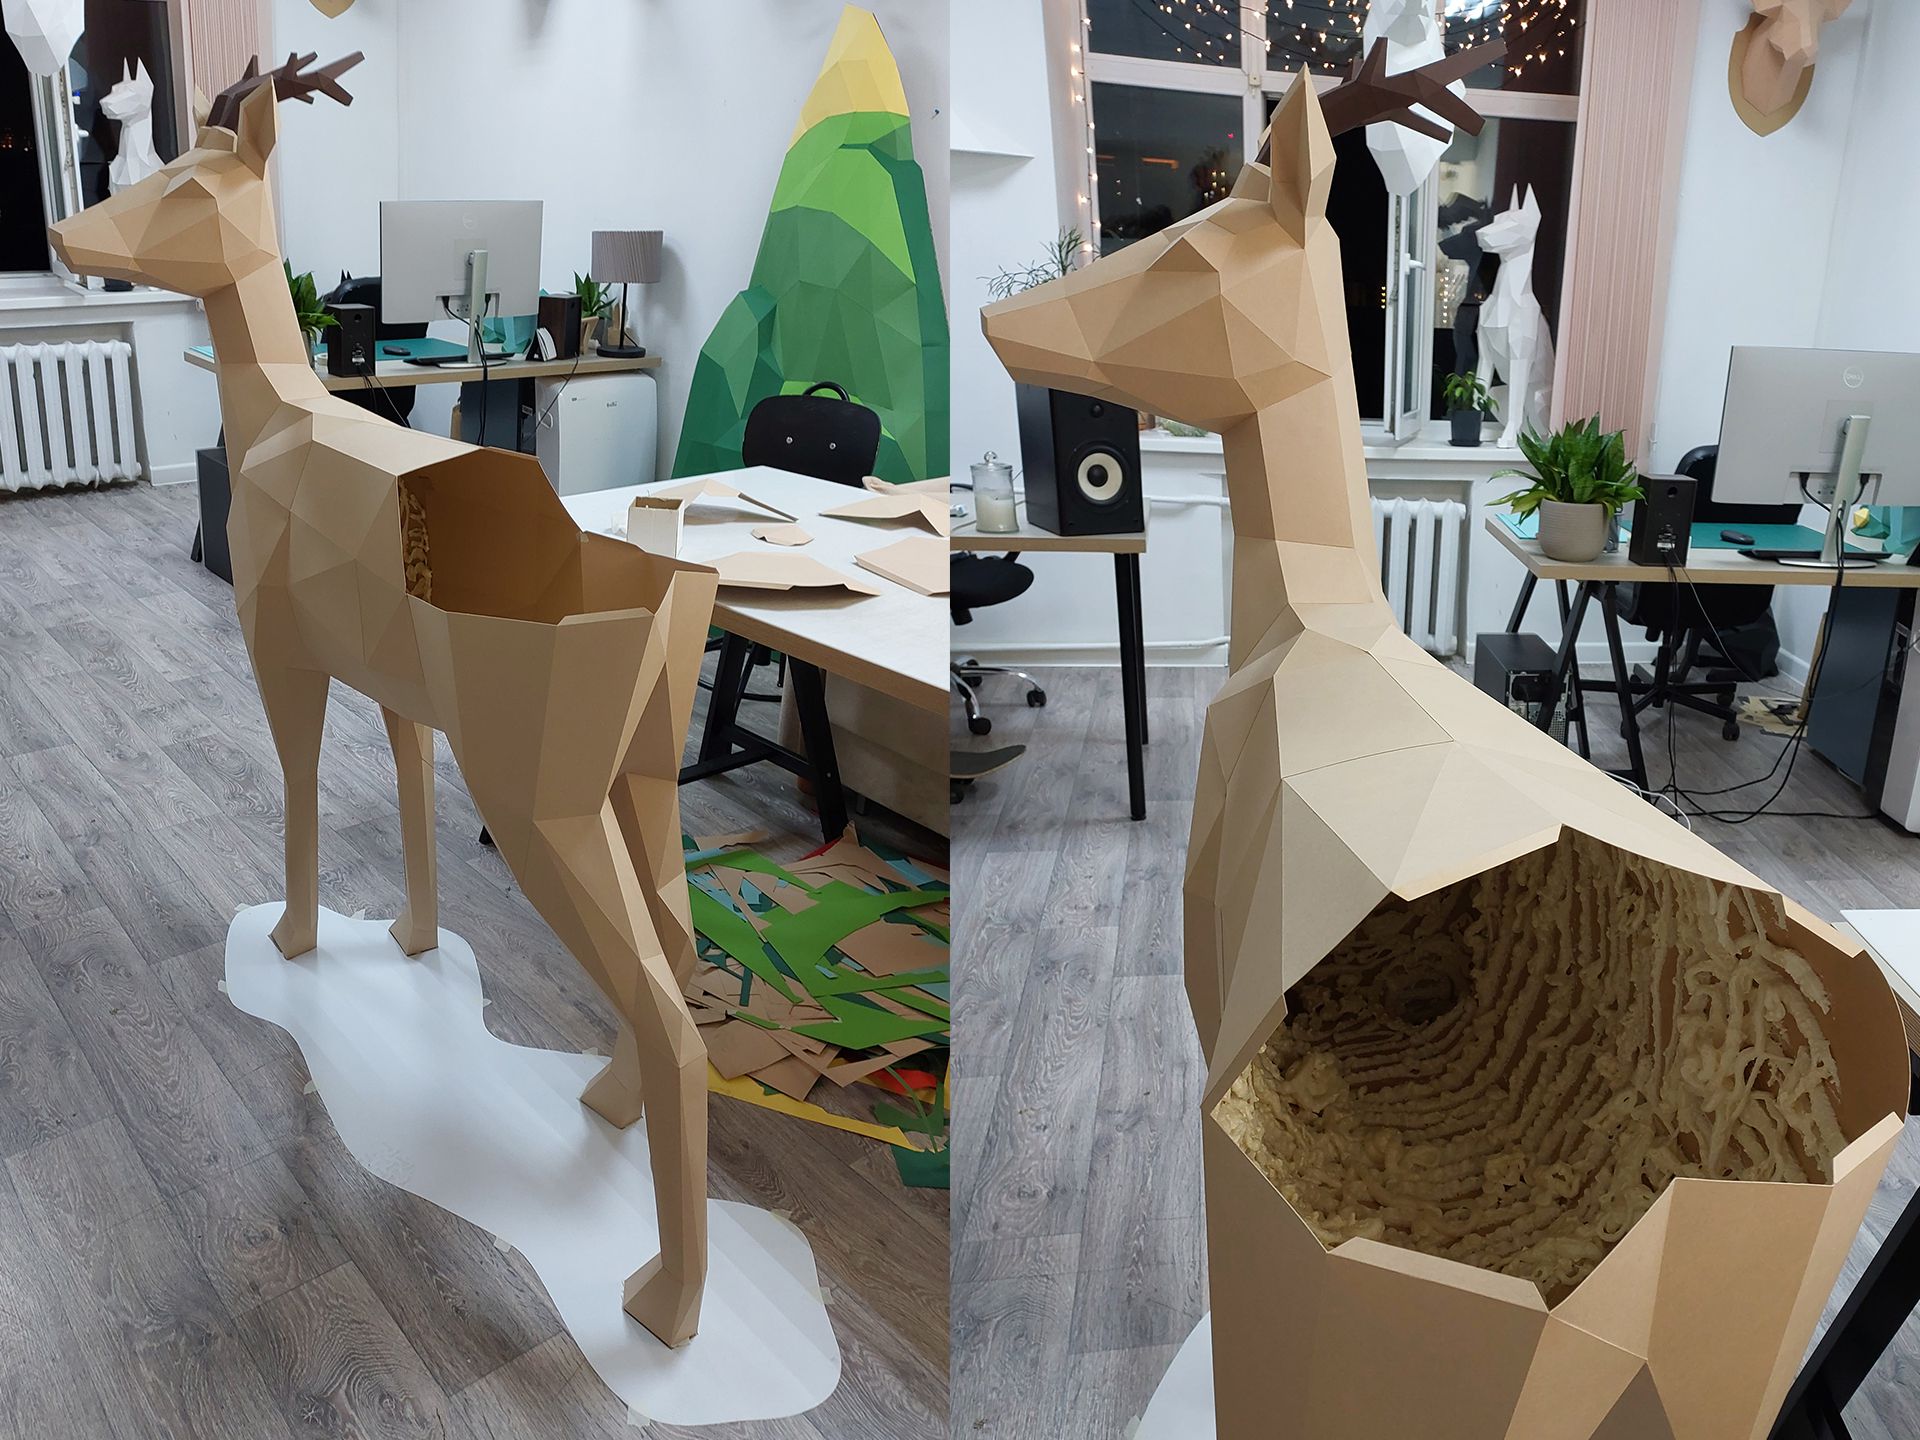
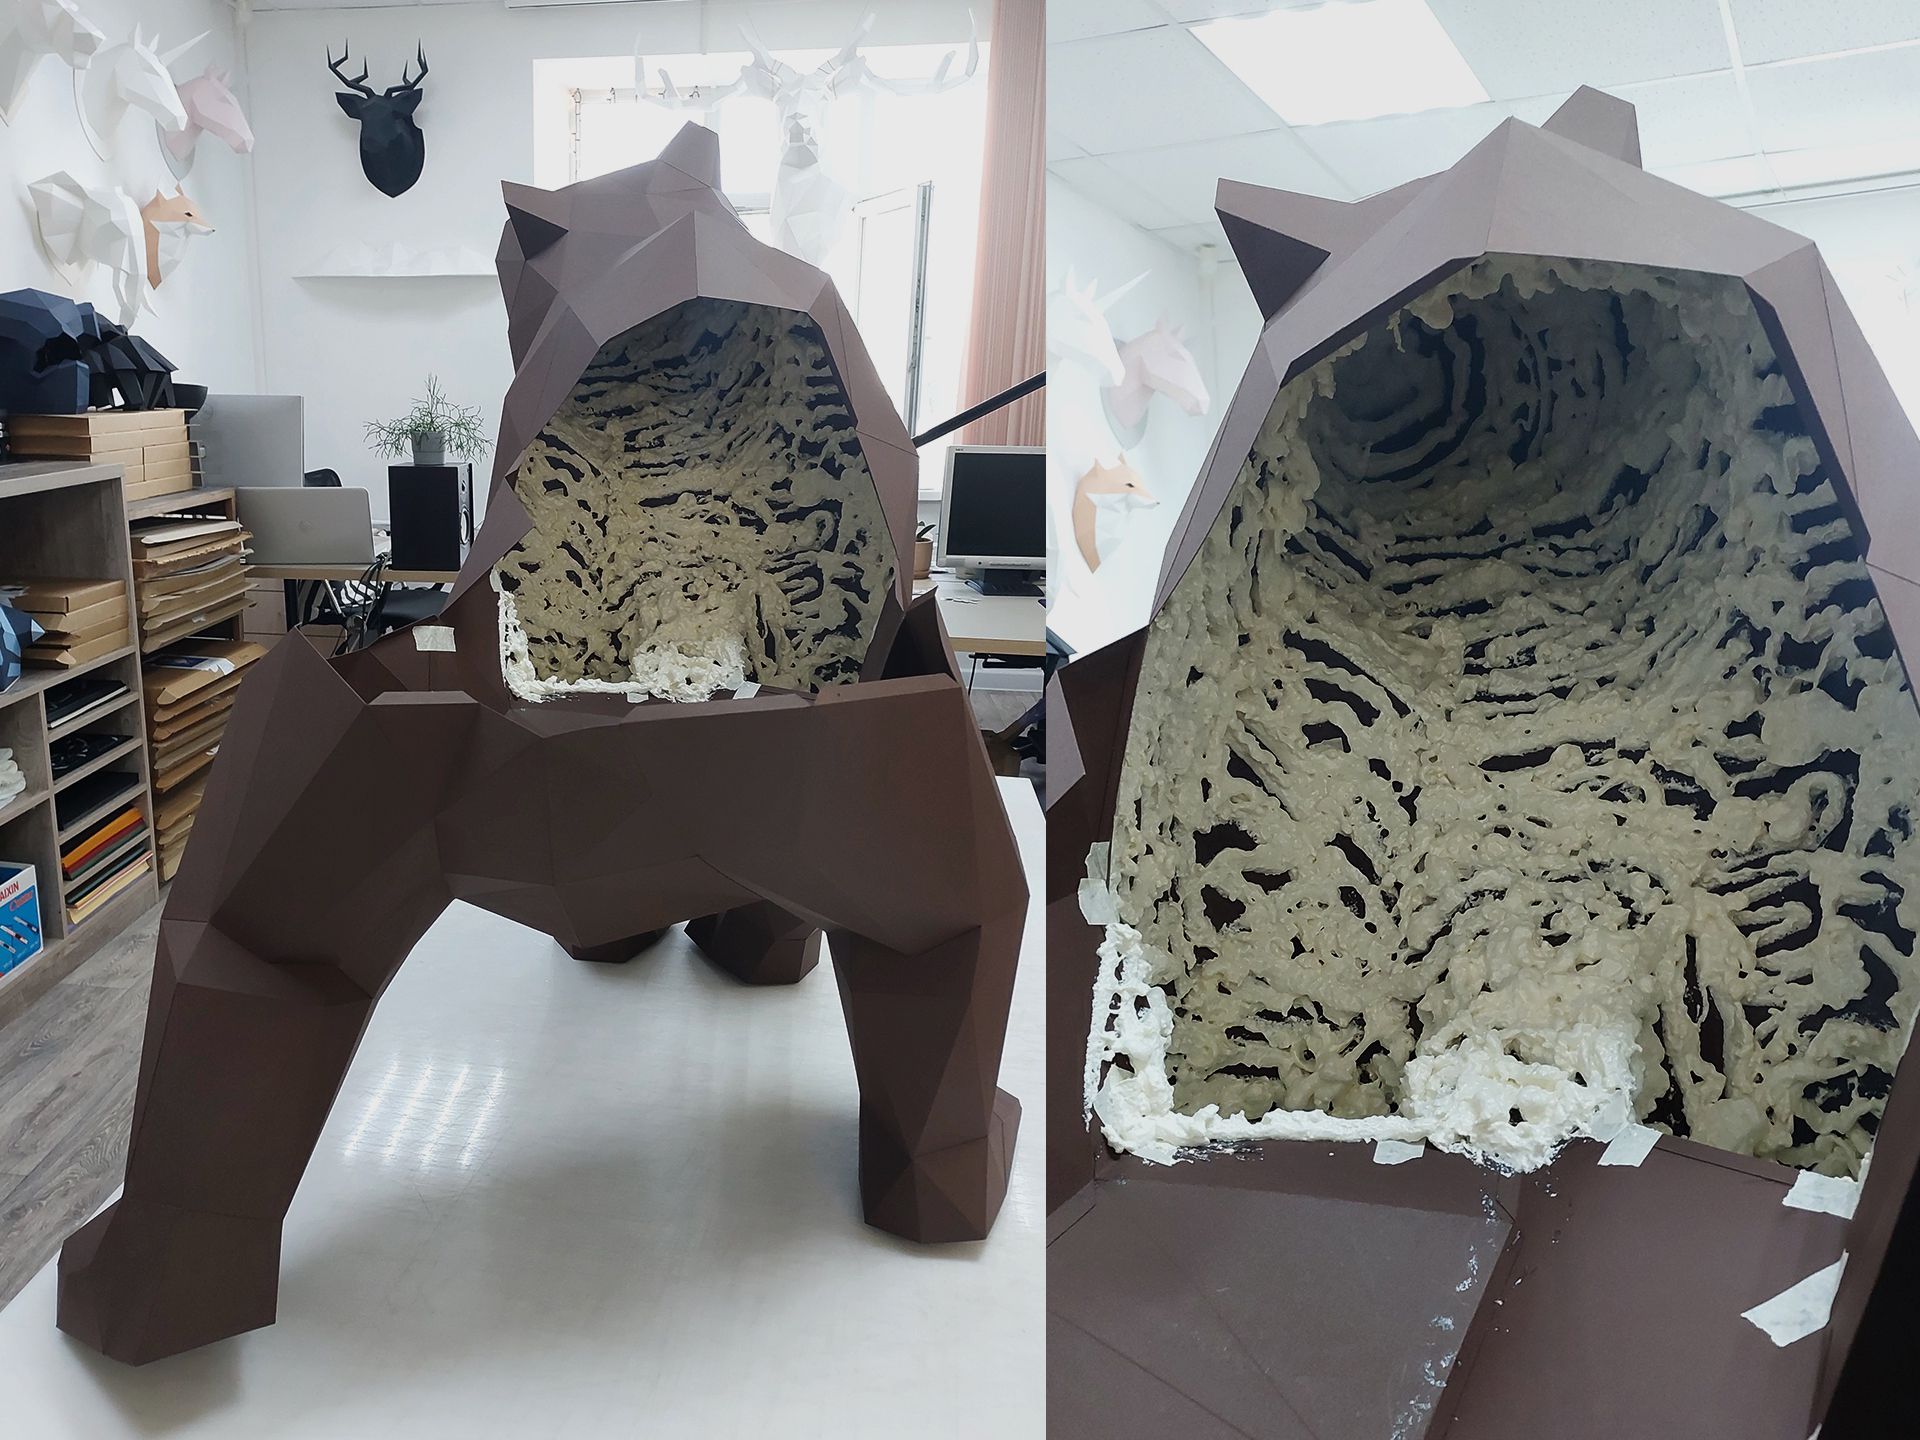
- Apply foam only to the inside surface of the paper. Apply the foam with foam gun in thin lines, spaced approximately 0.5-1 cm apart, to create a "skeleton." If you fill the cavity completely with foam, it will expand and "inflate" the shape, making the edges convex.
- I choose low-expansion foam and a foam gun with a foam dispenser and a metal barrel. For the Doberman, for example, you'll need about 1.5 cans of 460 ml Foam.
- Foam is toxic and sticky. Use a respirator and ventilate the room!
- If foam gets on your hands, wipe them immediately with alcohol wipes, otherwise you may stain the paper. If the foam touches the front side of the paper, it won't come off. In this case, you need to glue a separate polygon on top once the entire figure is assembled.
- The figure needs to be assembled very quickly, while the foam inside is still flexible. The foam hardens and holds the folds in place for 30 minutes. During this time, you need to glue adjacent parts to establish the correct shape. Otherwise, the foam will hold the previous parts in a distorted position.
- I divide the work over two working days.
On the first day, I prepare all the parts: cut them out, bend them, and arrange them in groups so I don't waste time searching for them during assembly. Next, I glue the individual body parts together. In the case of the roe deer, these are the antlers, ears, and muzzle. I reinforce these parts individually and then join them together while they are still flexible. I reinforce the entire structure, paying particular attention to the narrow areas where the antlers and ears attach to the head. Immediately after this, I glue the neck parts, but I don't foam them to ensure the shape remains flexible. I begin the legs in the same order: hooves, shins, thighs. I leave the thighs unfoamed. These fixed parts can wait a long time. - The next workday, I assemble the entire mold. This usually takes 4-5 hours. The large abdominal area is more susceptible to deformation than smaller parts.
- It's important to first position the legs and secure them in the desired position (against gravity) so that the finished sculpture stands firmly on all support points. I need to determine the leg placement based on the 3D model to reduce deformation of the torso. I glue the hooves to the stencil on the floor and connect them with the neck and belly pieces. This is where distortions inevitably occur, so I assemble the model taking the viewing angle into account. First, I glue the parts that will be visible from the front. Next, I glue the parts that are located behind and less visible. Paper buildup occurs in the corners because the mold is no longer flexible and the pieces have to be pulled together with force.
You can watch this process in the clips in our VK community:
- roe deer vk.com/clip-62983368_456239373
- doberman vk.com/clip-62983368_456239219
- bear vk.com/clip-62983368_456239213
- one more bear vk.com/clip-62983368_456239251
- mammoth head vk.com/clip-62983368_456239267